Use Raspberry Pi to get light strength data with photoresistor
Objective
In this project, we will use Raspberry Pi to get light strength data with photoresistor . As raspberry pi can not handle analog input, we need an A/D adapter to convert analog voltage into digital signal. You can select either MCP3008 ,MCP3204 or MCP3208 module as A/D adapter. In our experiment, we selected MCP3208.
Parts and Devices
|
Devices
|
qty
|
|
Raspberry pi2/3
|
1
|
|
8GB MicroSD memory card preinstalled Raspbian OS.
|
1
|
|
GPIO breakout kit(optional)
|
1
|
|
A/D adapter
|
1
|
|
photoresistor
|
1
|
|
10K ohm resistor
|
1
|
|
breadboard
|
1
|
|
jumper wires
|
some
|
Circuit Connection Graph(MCP3208 or MCP3008):
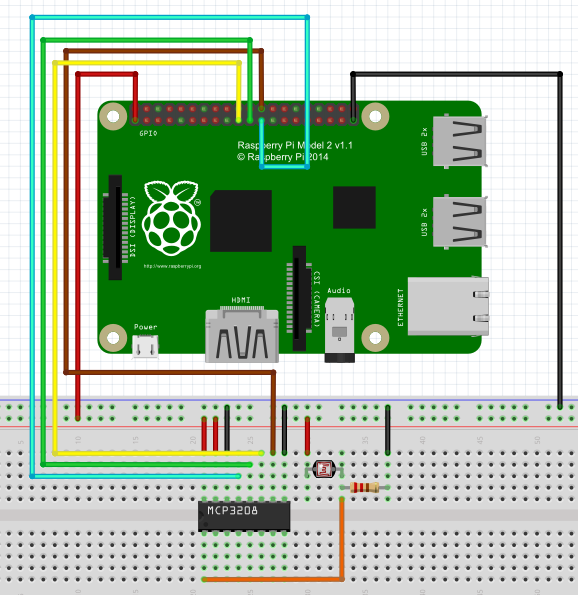
MCP3208 and MCP3208 are very similar, the datasheet of these two modules are sa following:
MCP3008_datasheet.pdf
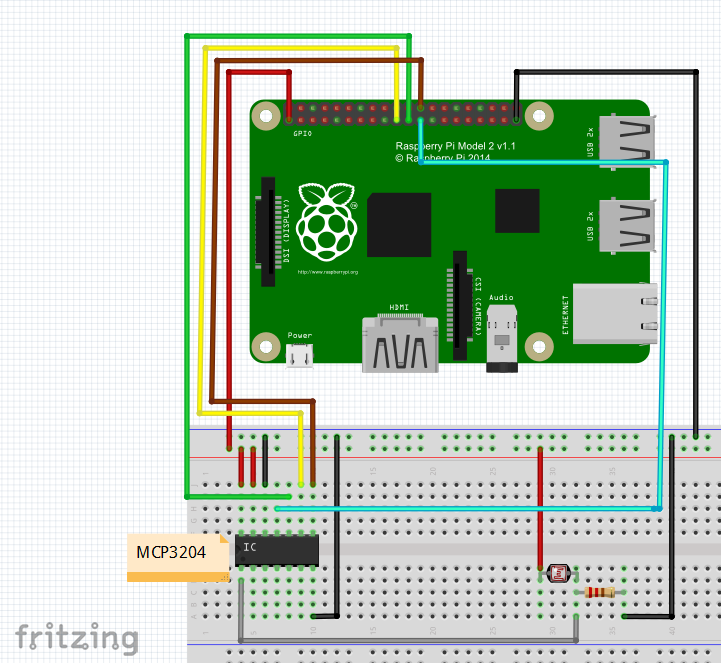
Circuit Connection Graph(MCP3204):
Install software:
1. connect your Pi to internet and then install GIT with following terminal command:
sudo apt-get install git-core
If there is any error during git installation, run following commands first, then do GIT installation again.
sudo apt-get update
sudo apt-get upgrade
2. download wiringPi library installation package with GIT
git clone git://git.drogon.net/wiringPi
If you need updated wiringPi, run following commands:
cd wiringPi
git pull origin
3. Build wiringPi library
cd wiringPi
./build
4. Download sample code by running following command:
wget –no-check-certificate http://osoyoo.com/wp-content/uploads/samplecode/raspi_photoresistor.c
5. compile sample code with following command:
gcc -Wall -o app raspi_photoresistor.c -lwiringPi
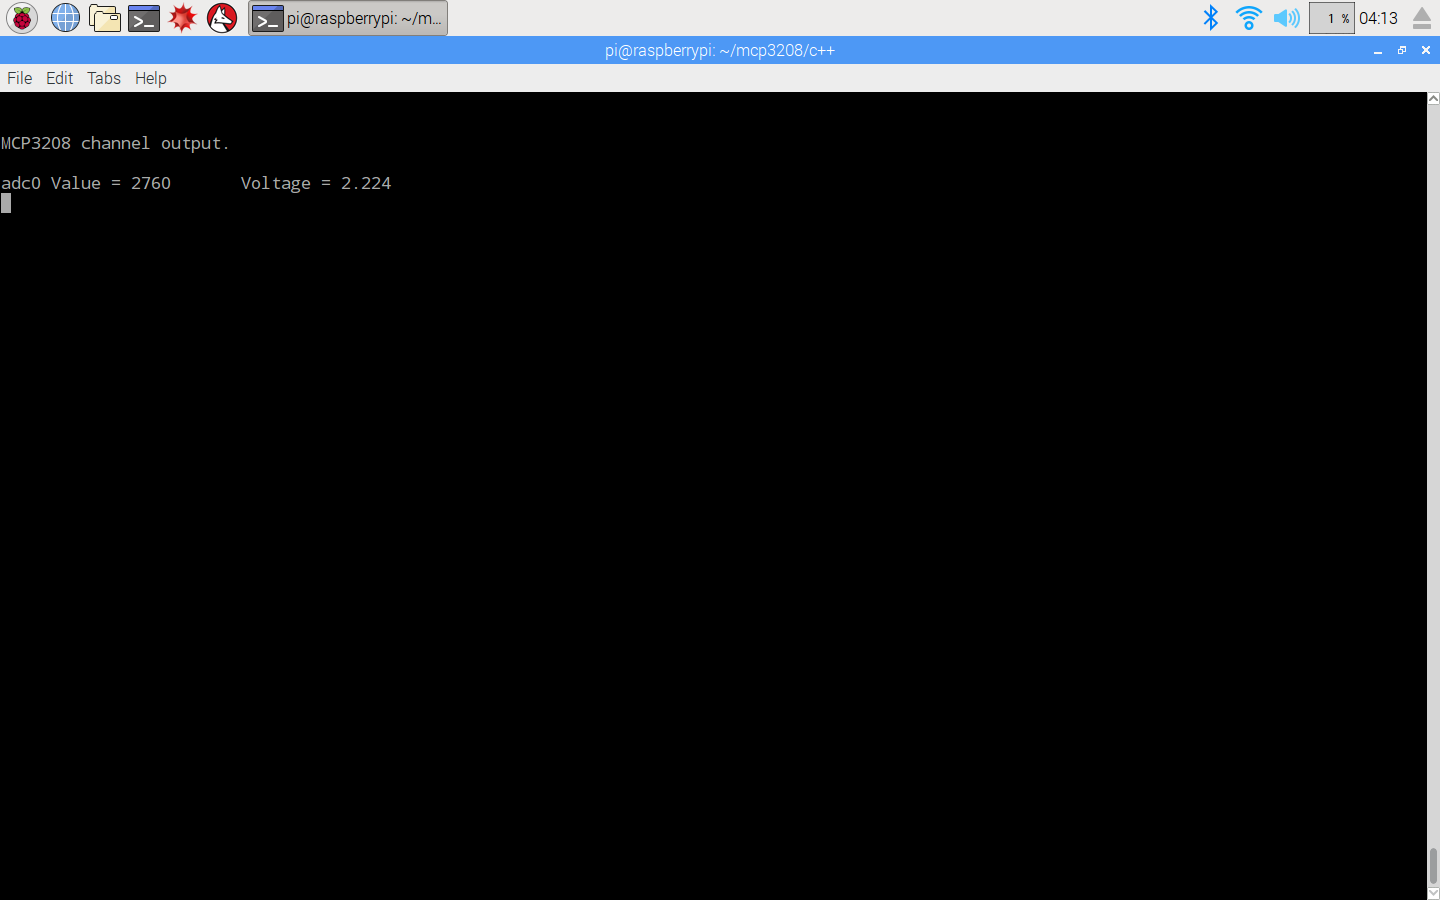
6.run the code:
sudo ./app
After running the sample code, your pi terminal will show light value as following:
amber administrator
You must be logged in to post a comment
About the Author