{:en}Design a touch switch through a raspberry pi board and digital touch sensor{:}{:zh}基于树莓派的触摸开关{:}
{:en}
Overview
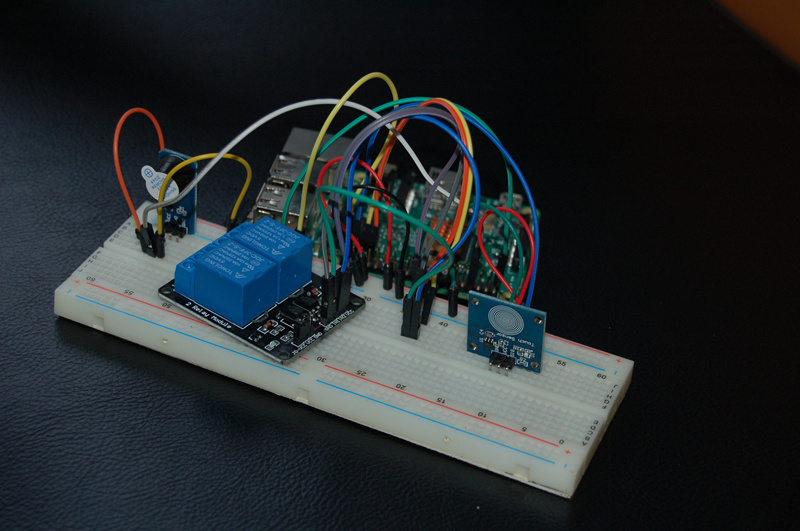
This tutorial is to design a touch switch through a raspberry pi board and digital touch sensor.When it starts,the raspberry pi will check the output signals fromTTP223 digital touch sensor.The relay module will be in circuit close and the buzzer will ring once when this sensor feel the touch. The touch sensor uses the most popular capactiive sensing technology.Generally,the sensor feedback low level voltage, it stay in low-power mode.Once it feel the touch,the sensor will feedback high level voltage and change to fast mode. After 12 seconds without the touch, the mode switch to the low-power mode.
Experimental Parts
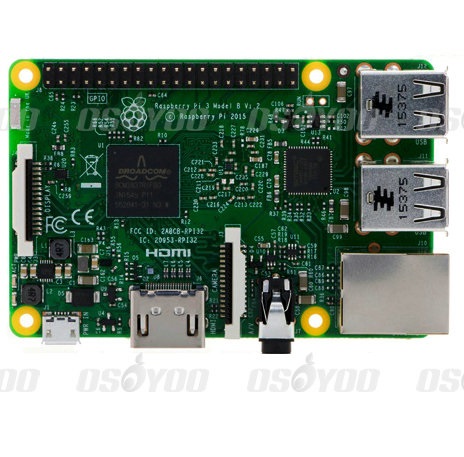 |
Raspberry Pi3 x1
|
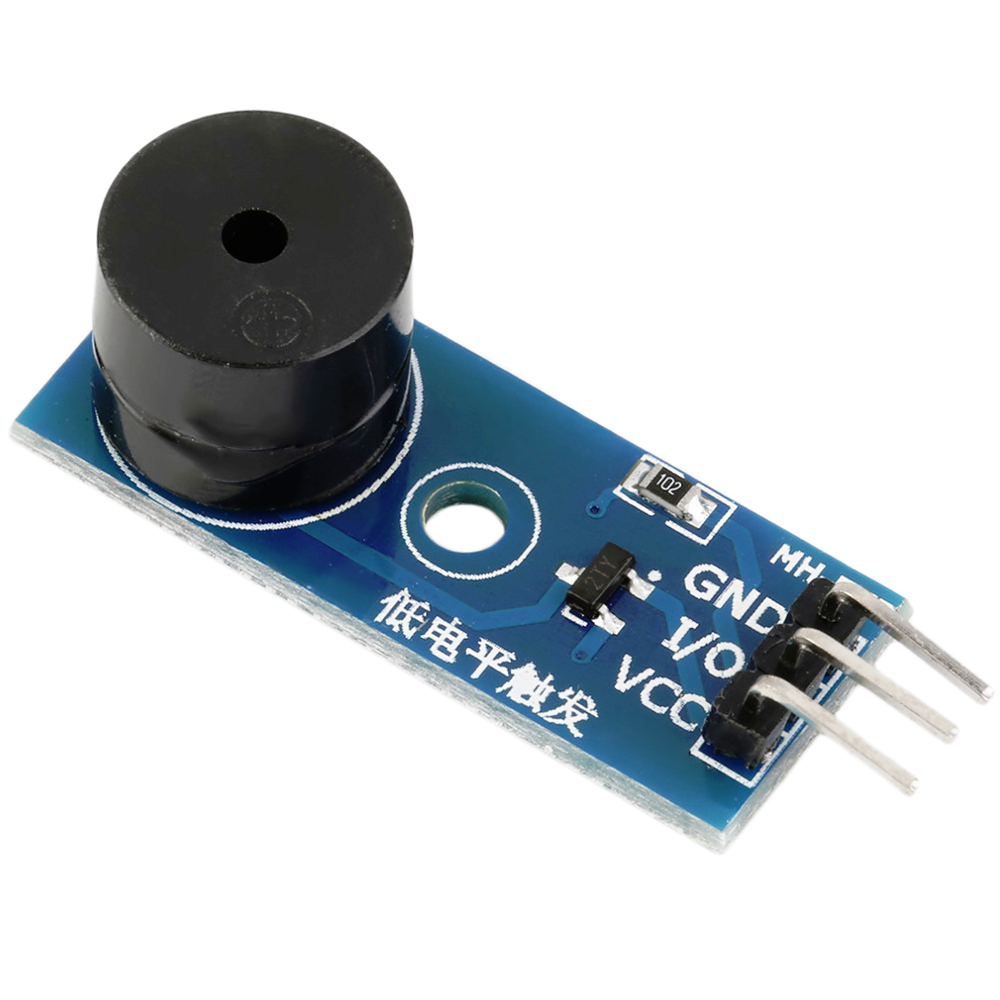 |
Buzzer sensor x1 |
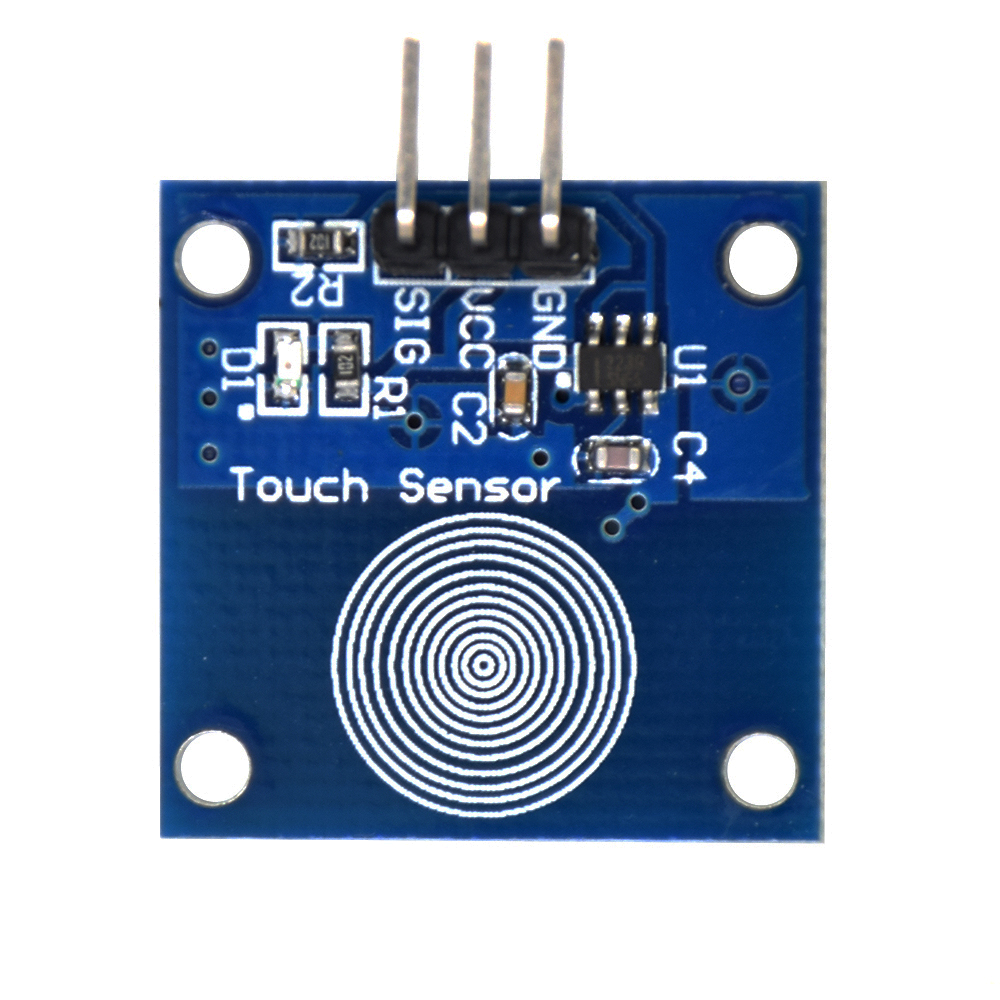 |
Digital touch sensor TTP223 x1 |
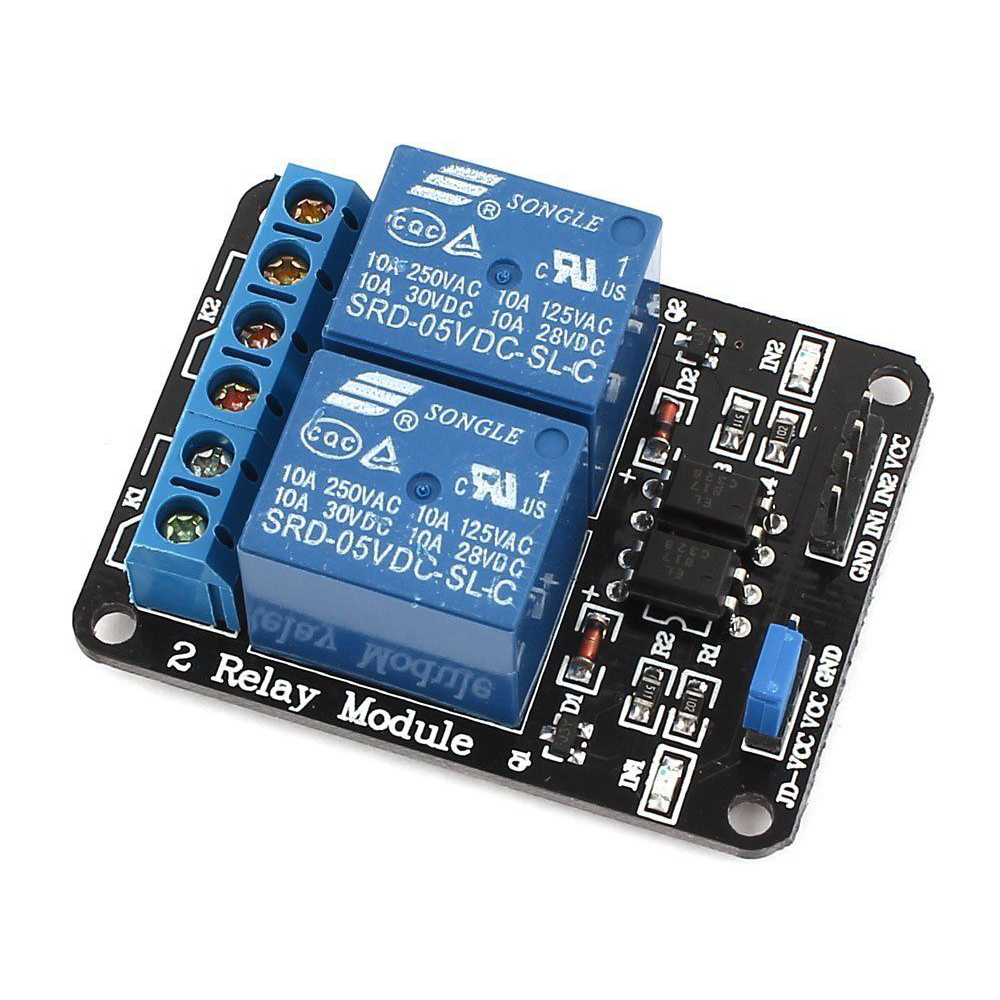 |
relay module x1 |
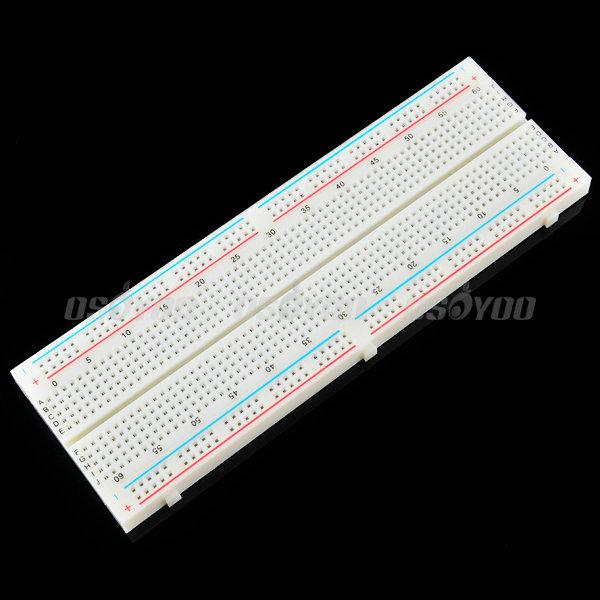 |
breadboard x1 |
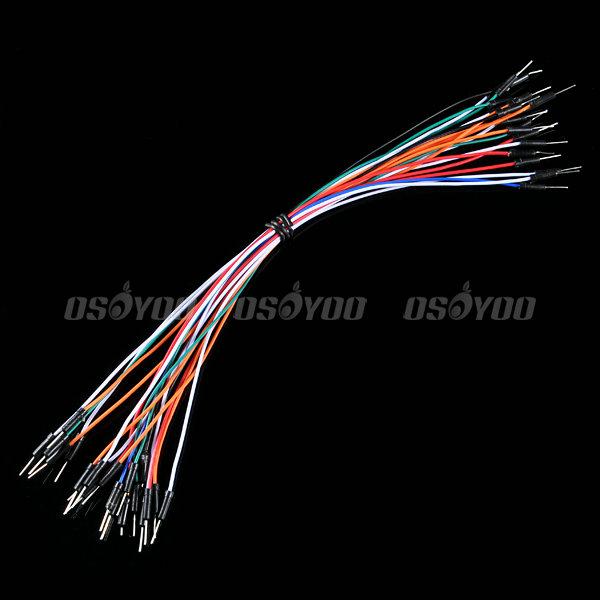 |
male to male jumper wire |
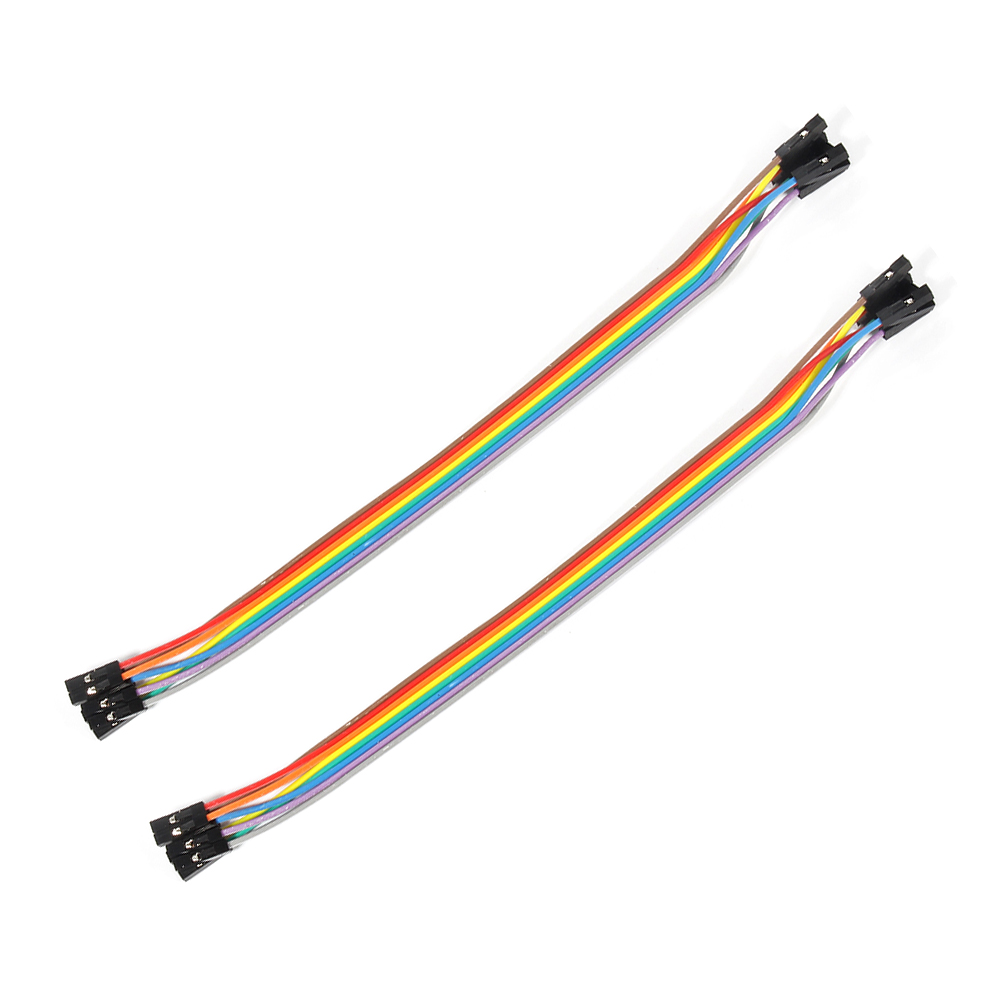 |
male to female jumper wire |
Hardware
The digital touch sensor,buzzer alarm sensor and 2-channel relay module need to be used in this project.
The working volatage of touch sensor is 3.3V-5.5V and this project use the 3.3V as power supply.When the sensor feel the touch,it feedback high level voltage;
The working volatage of buzzer alarm sensor and 2-channel relay module is 3.3V-5.5V and this project use the 3.3V as power supply. The sensor module will respond to the low level voltage.
The schematic diagram is as follows:
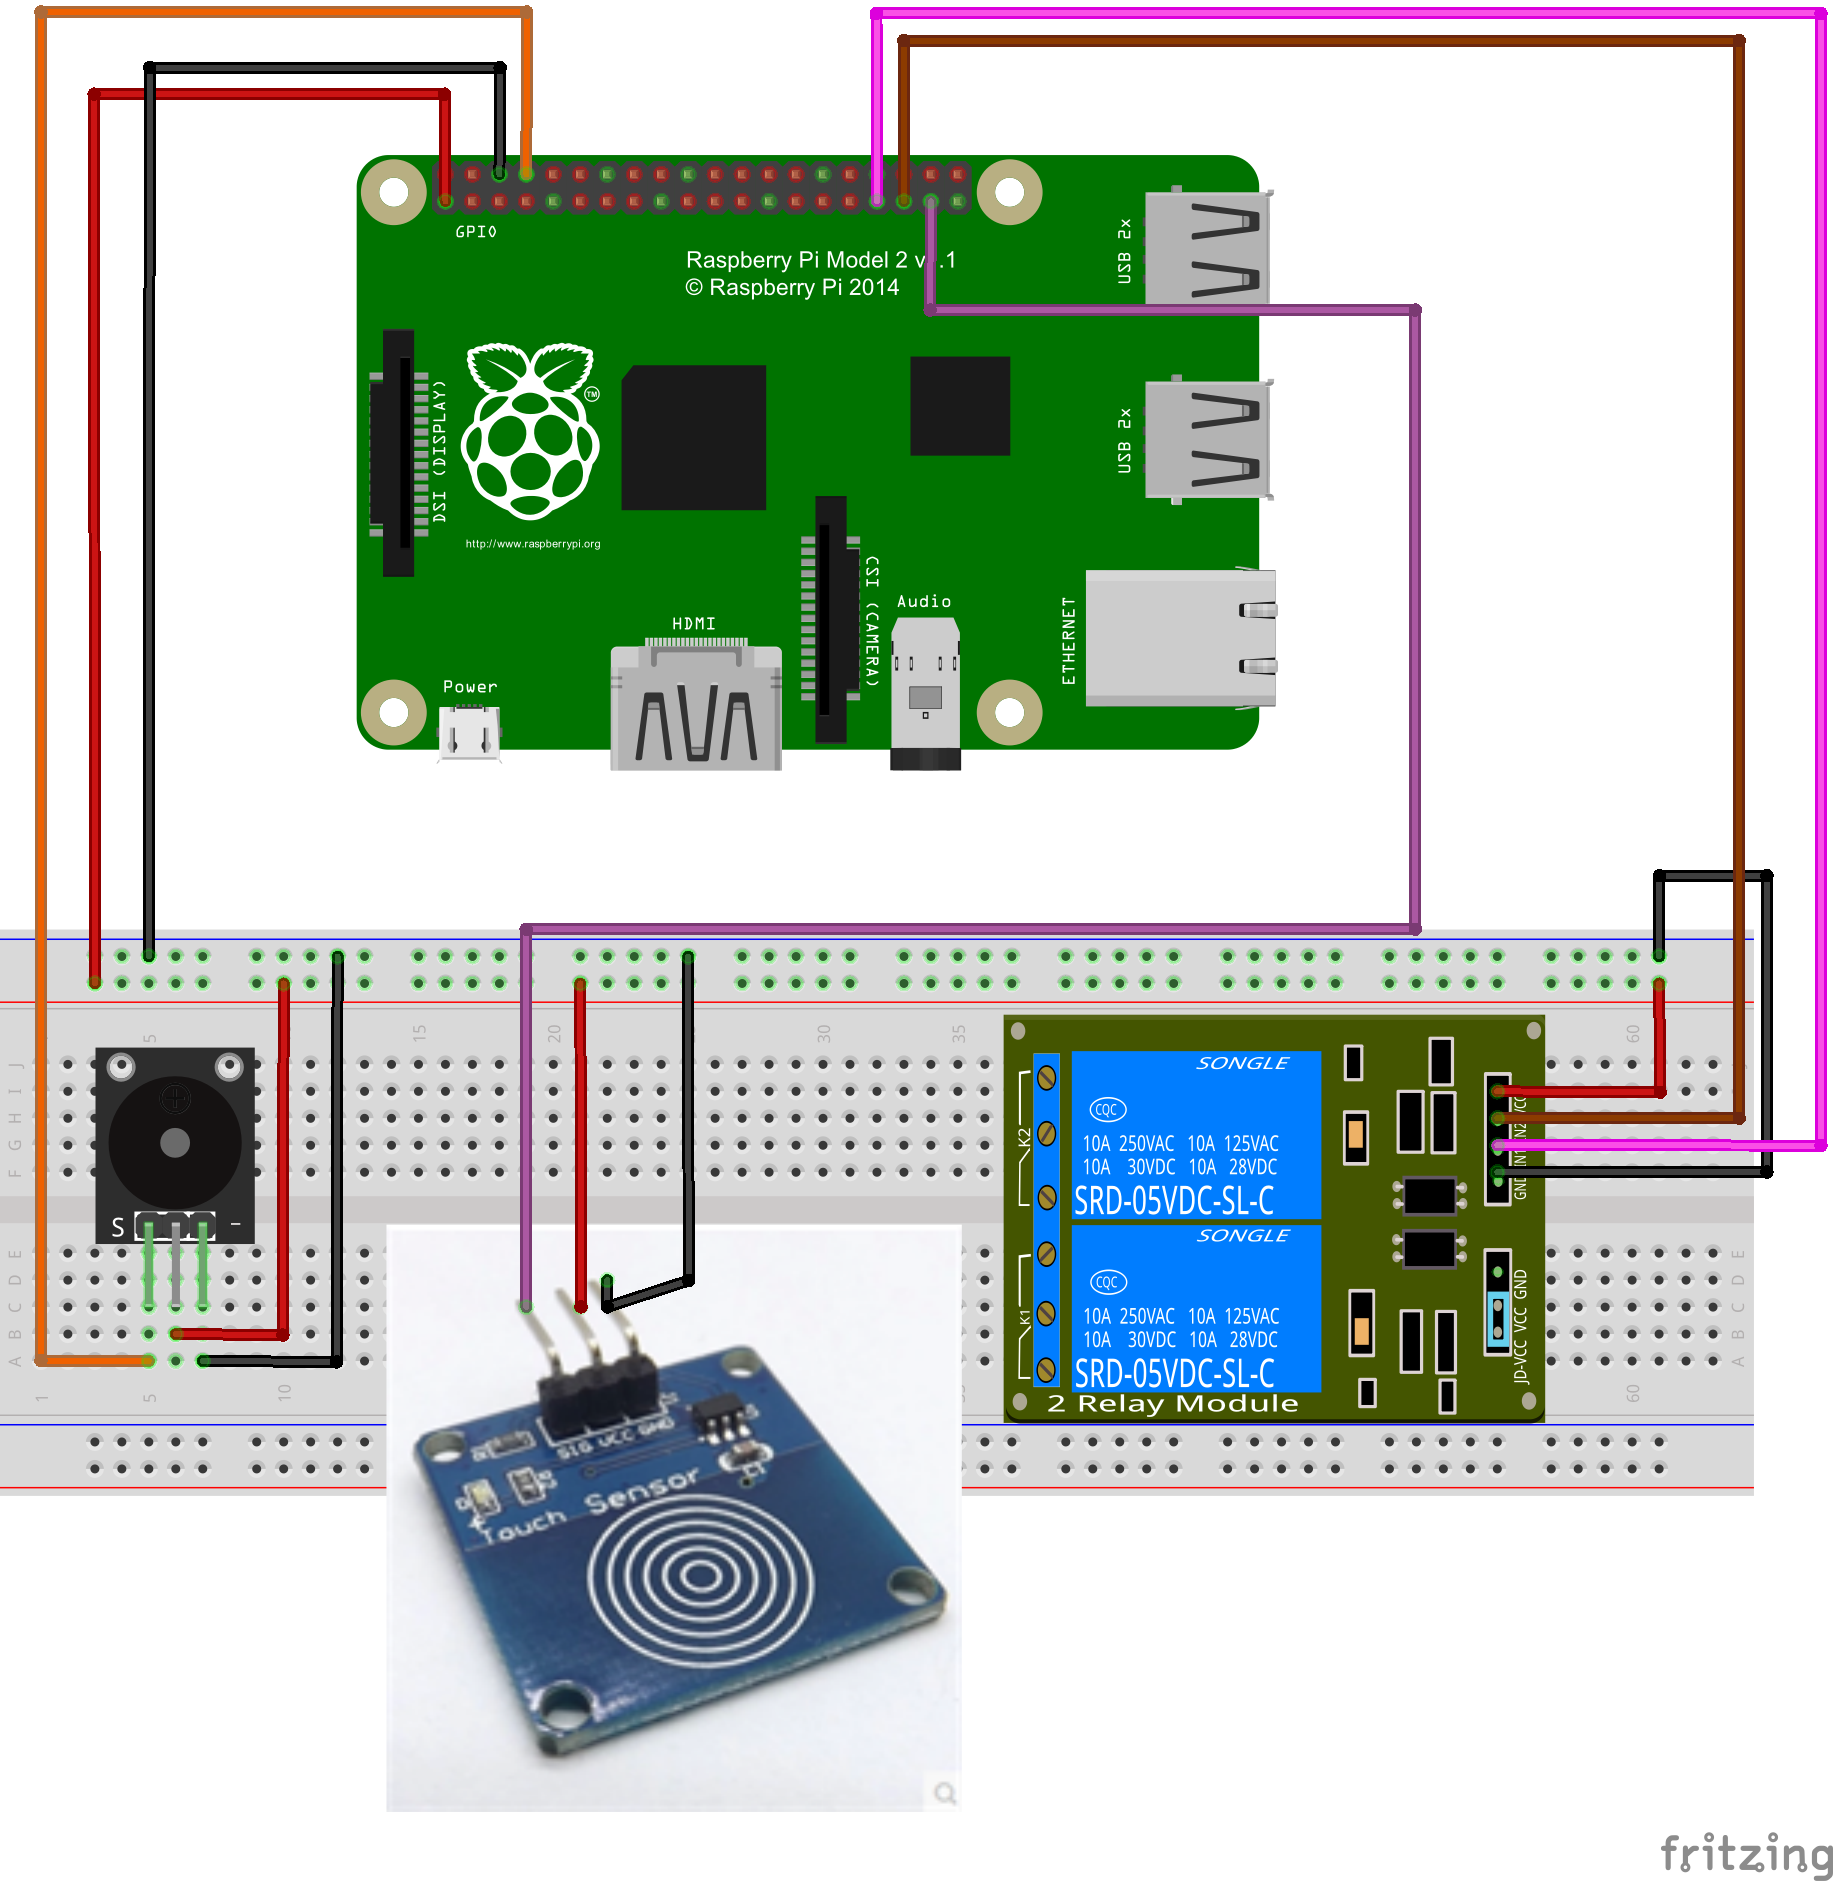
Pay more attention to the anode and cathode, otherwise it would burnout your raspberry pi board and sensor.You can connect the GND of the sensor to OV, VCC to 3.3V.You could visit the article for your reference if you want to learn more about the raspberry pi IO port : How to read Raspberry Pi i/o pin diagram (GPIO pin graph)
Software
You could choose the connect the raspberry pi to monitor, or login in pi via SSH.
1)Write the code
Add new file named touch.py under the /home/pi file path via nano editor (the name is arbitrary)
sudo nano touchsensor.py
Write the sample code in new file:
import RPi.GPIO as GPIO
import time
import os

#sensor pin define
buzzer = 14
touch = 26
relay_in1 = 13
relay_in2 = 19

#GPIO port init
def init():
         GPIO.setwarnings(False)
         GPIO.setmode(GPIO.BCM)
         GPIO.setup(buzzer,GPIO.OUT)
         GPIO.setup(relay_in1,GPIO.OUT)
         GPIO.setup(relay_in2,GPIO.OUT)
         GPIO.setup(touch,GPIO.IN,pull_up_down=GPIO.PUD_UP)
         pass

#turn on buzzer
def buzzer_on():
         GPIO.output(buzzer,GPIO.LOW)
         time.sleep(0.2)
         GPIO.output(buzzer,GPIO.HIGH)
         time.sleep(0.2)
         pass
#turn off buzzer
def buzzer_off():
         GPIO.output(buzzer,GPIO.HIGH)
         pass

#turn on relay
def relay_on():
         #open relay channal1 ana channal2
         GPIO.output(relay_in1,GPIO.LOW)
         GPIO.output(relay_in2,GPIO.LOW)

#turn off relay
def relay_off():
                  GPIO.output(relay_in1,GPIO.HIGH)
                  GPIO.output(relay_in2,GPIO.HIGH)


touchstatus = False
#read digital touch sensor
def read_touchsensor():
         global touchstatus
         if (GPIO.input(touch)==True):
                  touchstatus = not touchstatus
                  if touchstatus:
                           print"Turn on relay"
         print"\n"
                           buzzer_on()
                           relay_on()

                  else:
                           print"Turn off relay"
         print"\n"
                           buzzer_on()
                           relay_off()
         pass


#main loop
def main():
         print"...................................................................System initializing..."
         init()
         buzzer_off()
         relay_off()
         print"...................................................................Ok"
         print"...................................................................Please touch"
         print"\n"
         while True:
                  read_touchsensor()

if __name__ == '__main__':
         try:
                  main()
                  pass
         except KeyboardInterrupt:
                  pass
         pass
GPIO.cleanup()
The code can be obtained by executing shell commands.
sudo wget --no-check-certificate http://osoyoo.com/driver/touchsensor.py
2)Execute python program
sudo python ./touchsensor.py
3)Test
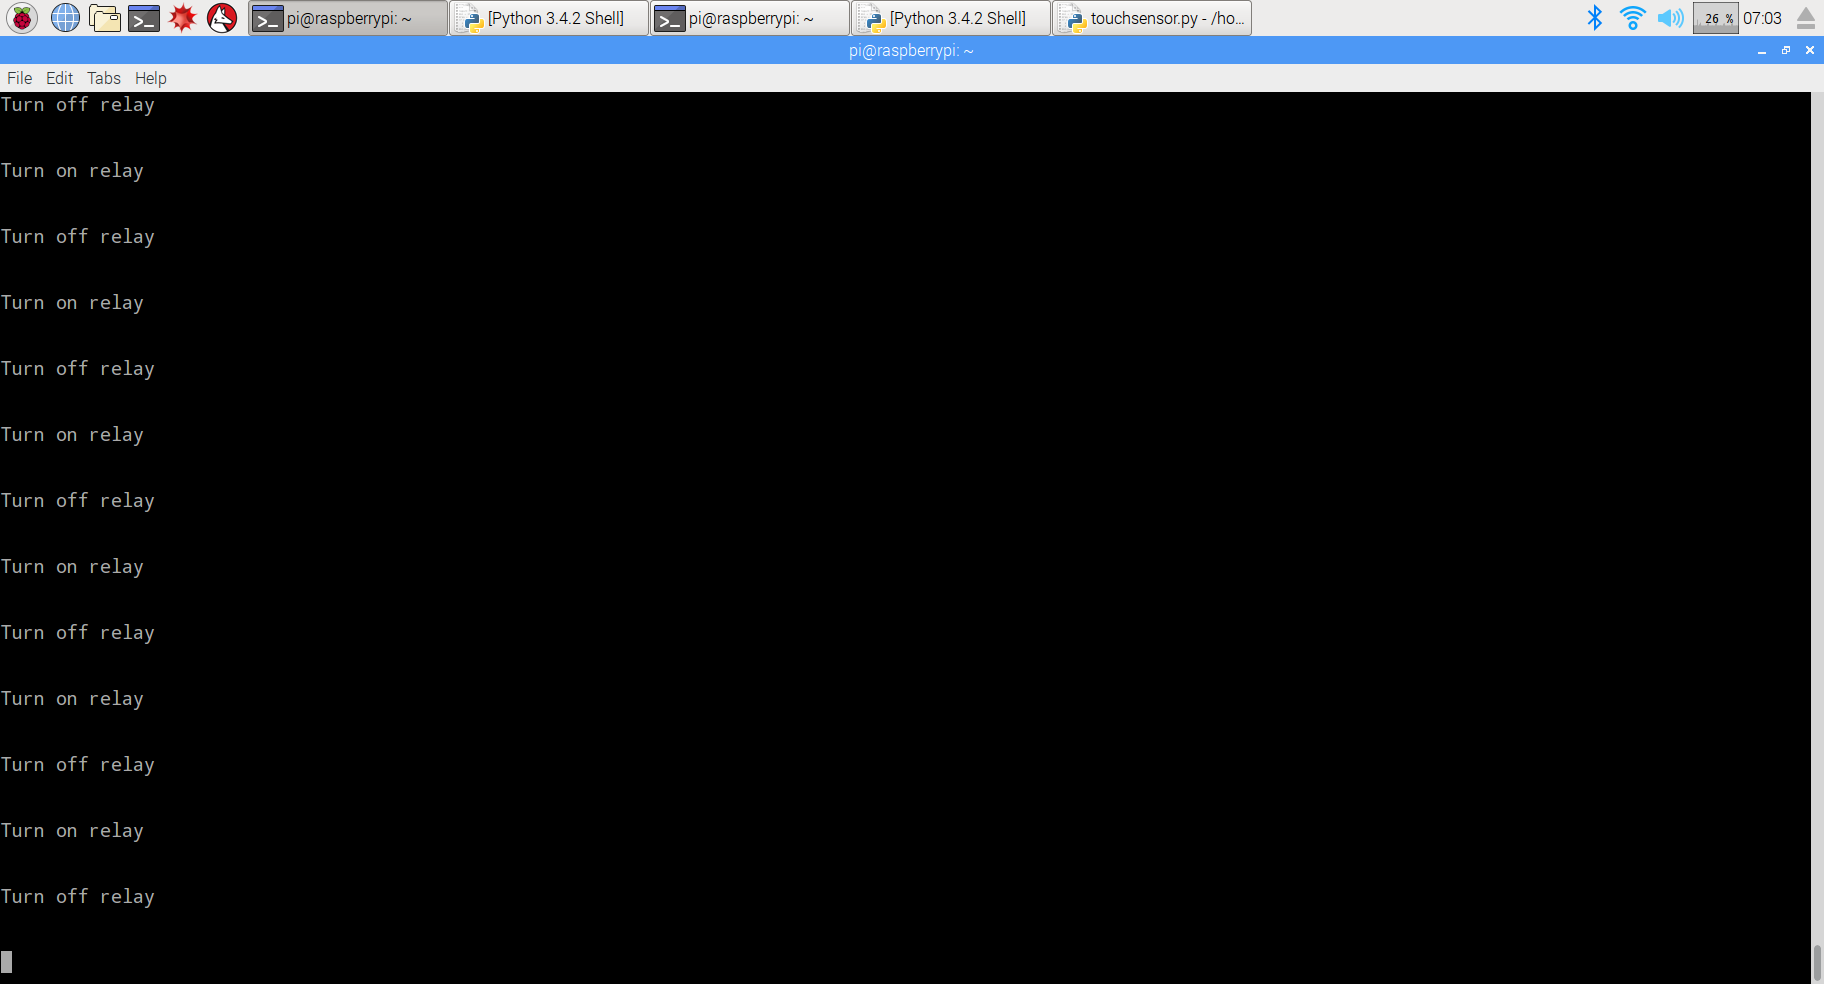
When you use the finger touch the place with concentric circles, you will hear a click sound from buzzer sensor closes and ring sound. In the same way,you could connect the other devices to relay module and control it via the touch sensor.
{:}{:zh}Overview
本文介绍如何用树莓派设计数字触摸开关,并通过这个数字触摸开关控制继电器通断。程序启动树莓派不间断检测TTP223数字触摸传感器模块输出信号,当检测到有触摸动作发生时候,继电器闭合,并且在触摸时候蜂鸣器会响一声,代表被触摸。该模块是一个基于触摸检测ICTTP223B的电容式点动型触摸开关模块。常态下,模块输出低电平,模式为低功耗模式;当用手指触摸相应位置时,模块会输出高电平,模式切换为快速模式;当持续12秒没有触摸时,模式又切换为低功耗模式。
Experimental Parts
为了完成设计需要用到一下器件
|
|
Pi3 x1
|
|
|
有源蜂鸣器模块 x1 |
|
|
数字触摸开关TTP223 x1 |
|
|
2路继电器模块 x1 |
|
|
面包板 x1 |
|
|
公对公跳线 x若干 |
|
|
公对母跳线 x若干 |
Hardware
本文中用到了三个传感器,分别是数字触摸开关TTP223模块、有源蜂鸣器模块和2路继电器模块。数字触摸开关TTP223模块工作在DC2—5.5V,本文中采用3.3V供电,检测到有触摸动作时候输出高电平,否则输出低电平;有源蜂鸣器模块采用2TY三极管(S8550)驱动,工作在3.3V-5V之间,本文将其接到3.3V电压上,模块低电平触发;2路继电器模块低电平触发,同样用3.3V供电。
与树莓派具体连线参考下图
在接线的时候请认清模块正负极,不要接反了,否则会烧坏你的Pi和模块。模块的上的GND接Pi上的0V;模块上的VCC接3.3V。对于如何识别Pi的IO口请参考这篇文章: How to read Raspberry Pi i/o pin diagram (GPIO pin graph)
Software
可以把pi直接接到显示器上,也可以通过SSH方式远程登录Pi。
1)编写代码
在/home/pi路径下用nano新建一个touchsensor.py(名字随意,你喜欢就好!)
sudo nano touchsensor.py
并往新建的文件中写入如下代码:
import RPi.GPIO as GPIO
import time
import os

#sensor pin define
buzzer = 14
touch = 26
relay_in1 = 13
relay_in2 = 19

#GPIO port init
def init():
         GPIO.setwarnings(False)
         GPIO.setmode(GPIO.BCM)
         GPIO.setup(buzzer,GPIO.OUT)
         GPIO.setup(relay_in1,GPIO.OUT)
         GPIO.setup(relay_in2,GPIO.OUT)
         GPIO.setup(touch,GPIO.IN,pull_up_down=GPIO.PUD_UP)
         pass

#turn on buzzer
def buzzer_on():
         GPIO.output(buzzer,GPIO.LOW)
         time.sleep(0.2)
         GPIO.output(buzzer,GPIO.HIGH)
         time.sleep(0.2)
         pass
#turn off buzzer
def buzzer_off():
         GPIO.output(buzzer,GPIO.HIGH)
         pass

#turn on relay
def relay_on():
         #open relay channal1 ana channal2
         GPIO.output(relay_in1,GPIO.LOW)
         GPIO.output(relay_in2,GPIO.LOW)

#turn off relay
def relay_off():
                  GPIO.output(relay_in1,GPIO.HIGH)
                  GPIO.output(relay_in2,GPIO.HIGH)


touchstatus = False
#read digital touch sensor
def read_touchsensor():
         global touchstatus
         if (GPIO.input(touch)==True):
                  touchstatus = not touchstatus
                  if touchstatus:
                           print"Turn on relay"
         print"\n"
                           buzzer_on()
                           relay_on()

                  else:
                           print"Turn off relay"
         print"\n"
                           buzzer_on()
                           relay_off()
         pass


#main loop
def main():
         print"...................................................................System initializing..."
         init()
         buzzer_off()
         relay_off()
         print"...................................................................Ok"
         print"...................................................................Please touch"
         print"\n"
         while True:
                  read_touchsensor()

if __name__ == '__main__':
         try:
                  main()
                  pass
         except KeyboardInterrupt:
                  pass
         pass
GPIO.cleanup()
上面的代码可以通过执行下面的shell命令得到
sudo wget --no-check-certificate http://osoyoo.com/driver/touchsensor.py
2)执行python脚本
sudo python ./touchsensor.py
3)测试
用手指触摸数字触摸开关模块上同心圆位置,会听到滴答声,这是蜂鸣器吸合的声音,在触摸同时蜂鸣器会响一声。可以将一些其他设备接到继电器,就可以通过自己设计的触摸开关来控制了。{:}
amber administrator
About the Author