Drive 16×2 LCD with Raspberry Pi
Objective:
In this project, we will use GPIO pins to send text to 1602 LCD screen.
If you don’t know what is GPIO layout, check our tutorial How to read Raspberry Pi i/o pin diagram (GPIO pin graph)
Parts:
| 1 pc | Raspberry Pi 2/3/zero |  |
| 1 pc | 8GB MicroSD memory card preinstalled Raspbian OS. |  |
| 1 pc | 1602 LCD screen | 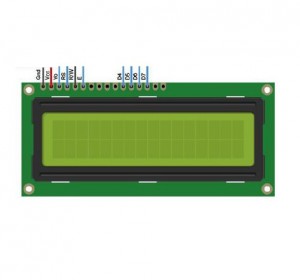 |
| 1 pc | Potentiometer | 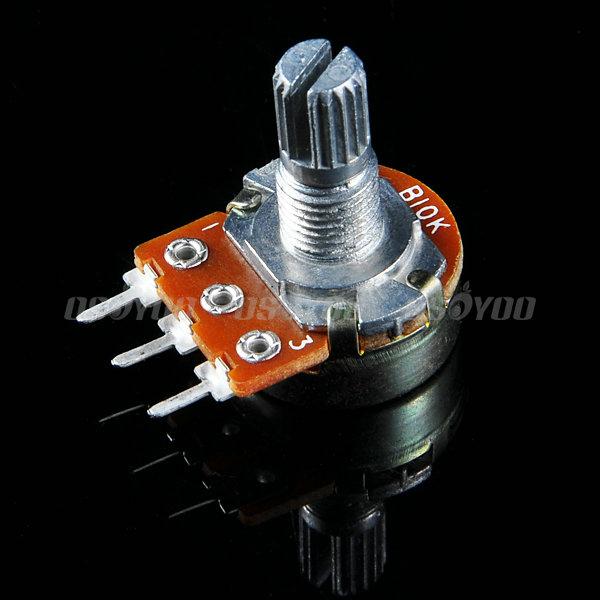 |
| 1 pc | breadboard | 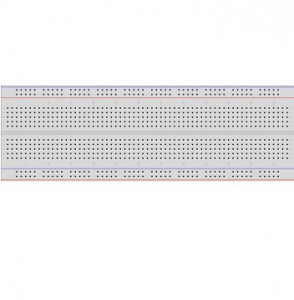 |
| 1 pc | GPIO breakout kit(optional) |  |
Prerequisite:
Raspbian should be upgraded to latest version in order to support RPI.GPIO module
Please run following commands in shell:
- sudo apt-get update
- sudo apt-get upgrade
Raspberry Pi and 1602 LCD pin connection
| LCD Pin | Description | Pi Function | RasPi Pin |
| 01 | GND | GND | 06 |
| 02 | +5V | +5V | 02 |
| 03 | Contrast | To Potentiometer middle pin | |
| 04 | RS | GPIO7 | 26 |
| 05 | RW | GND | 06 |
| 06 | Enable | GPIO8 | 24 |
| 11 | D4 | GPIO25 | 22 |
| 12 | D5 | GPIO24 | 18 |
| 13 | D6 | GPIO23 | 16 |
| 14 | D7 | GPIO18 | 12 |
| 15 | +5V | +5V | 02 |
| 16 | GND | GND | 06 |
Circuit Graph:
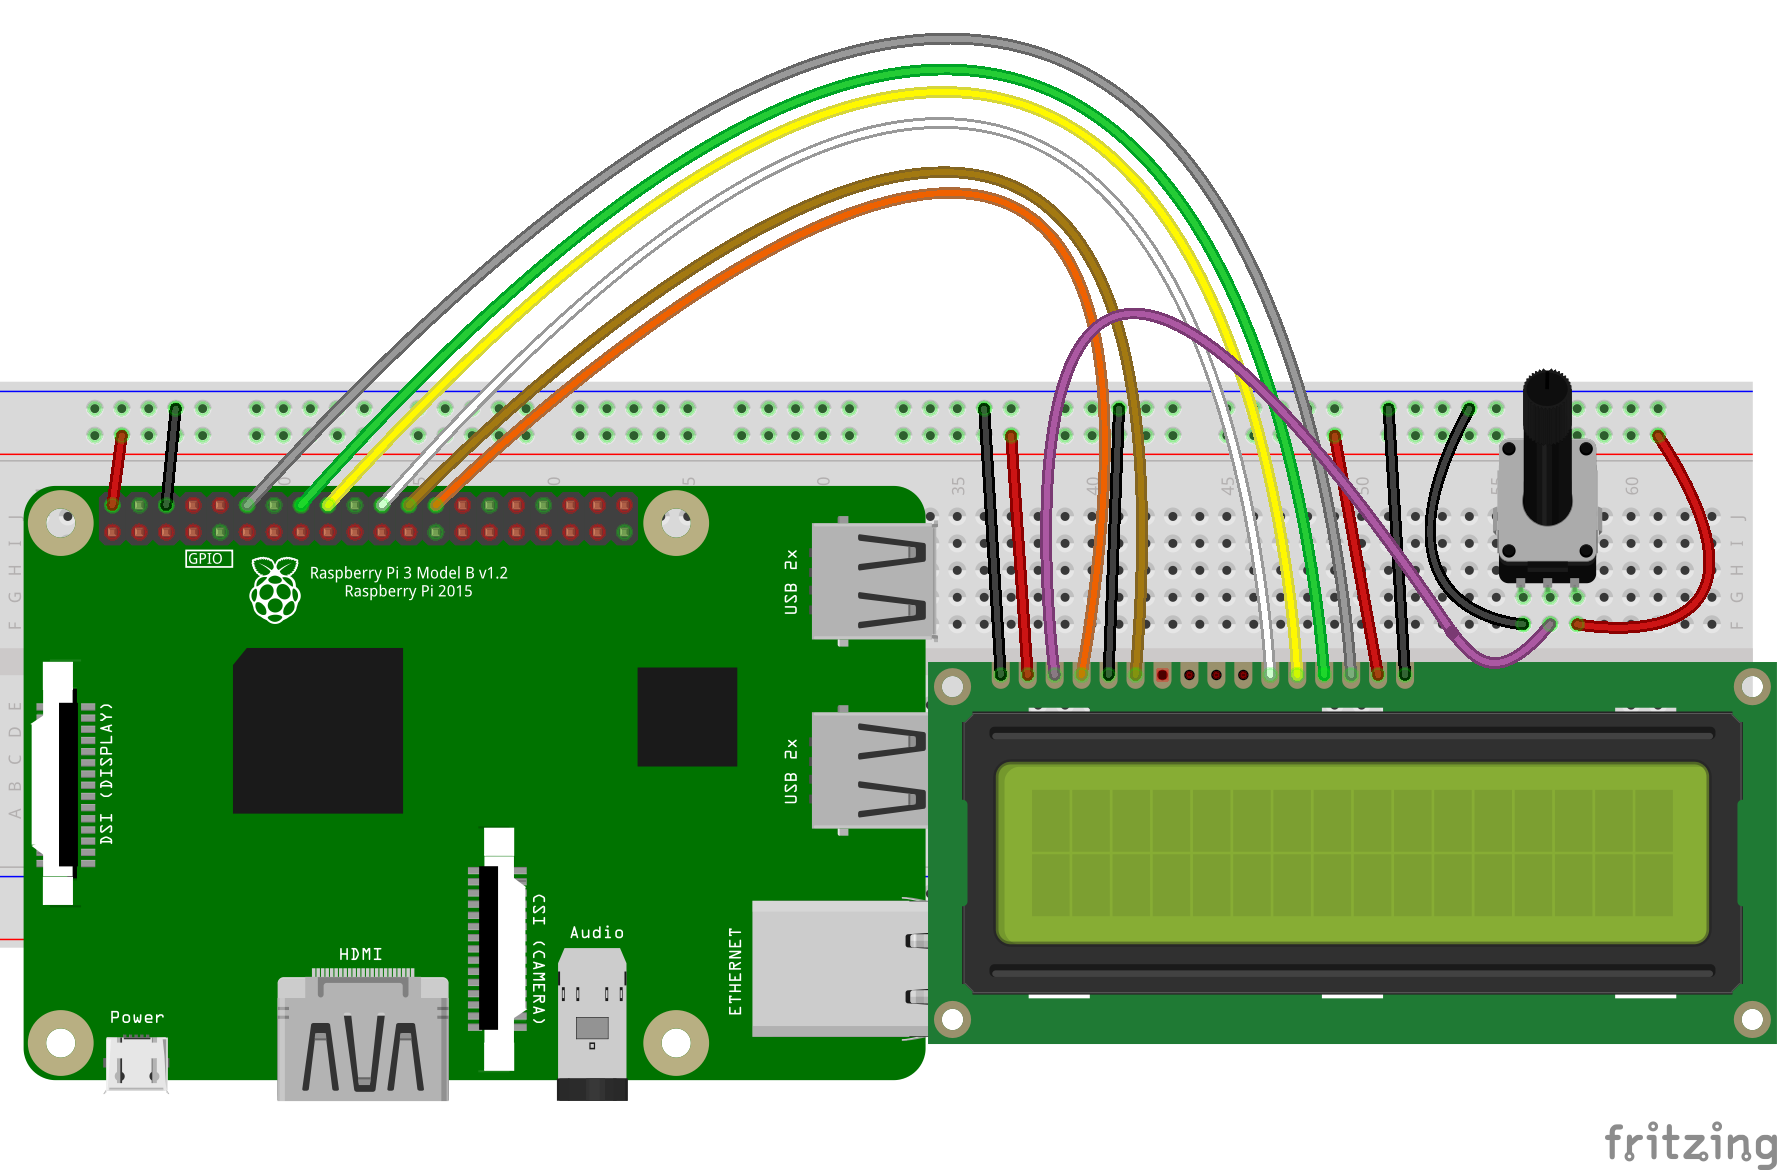
Caution: Unlike Arduino board 5V input voltage, Raspberry GPIO pin accept only 3 Volt. Wrong voltage input might damage the Pi board. Please be very careful!
Write python code
You have two ways to write python code:
Option 1)
download http://osoyoo.com/driver/pi_lcd.py and copy/paste it to raspberry pi
Option 2)
You can also download above python file from our server by typing following shell command:
sudo wget –no-check-certificate http://osoyoo.com/driver/pi_lcd.py
Finally, run following command in shell window:
sudo python pi_lcd.py
Adjust the Potentiometer to make LCD text displaying clearly. You will see following text string rolling in LCD screen:
LCD work with
Raspberry Pi!
Designed by
osoyoo.com
Read Tutorial @
osoyoo.com
Video Demo:
amber administrator
You must be logged in to post a comment
About the Author