Graphical Programming Tutorial for Arduino – Basic Car Robot
Introduction
In the previous course, we learned how to use the Arduino development board and how to drive a DC motor. Now, we will use this kit to build a basic car robot. We will burn the pre-edited program to the UNO board. Once the robot gets power, it will go straight or rotate along a set trajectory.
Preparations
HARDWARE
- Osoyoo UNO Board (Fully compatible with Arduino UNO rev.3) x 1
- DC Motors x 2
- L293D x 1
- Wheels x 2
- Breadboard
- Acrylic experimental platform
- Screws/Screw caps
- Metal Motor Holders
- Universal wheel
- Battery Box with DC Connector
- Batteries(7~12V DC)
- F/M jumpers
- USB Cable x 1
- PC x 1
Hardware Installation
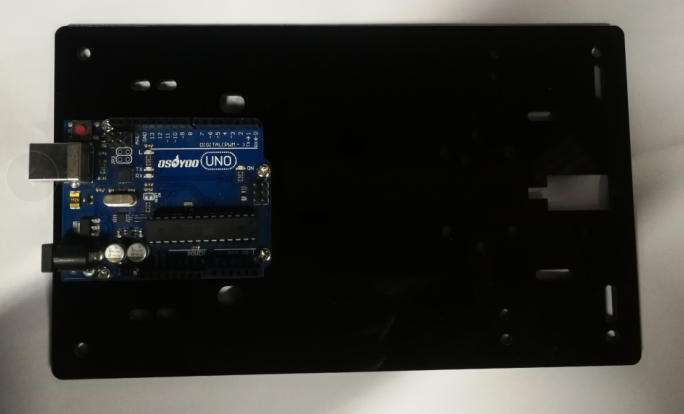
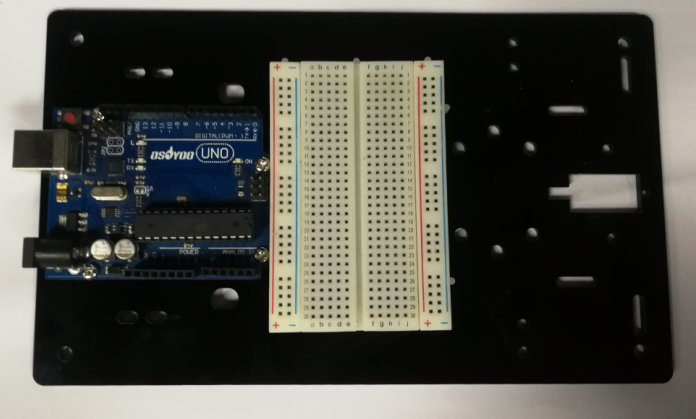
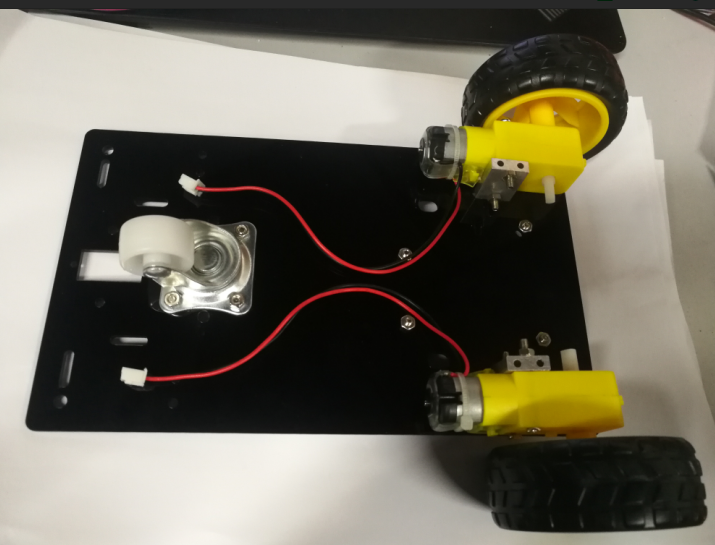
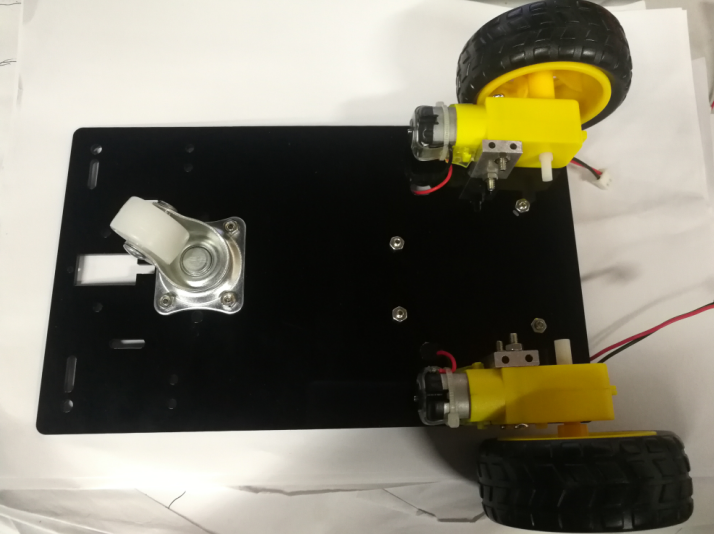
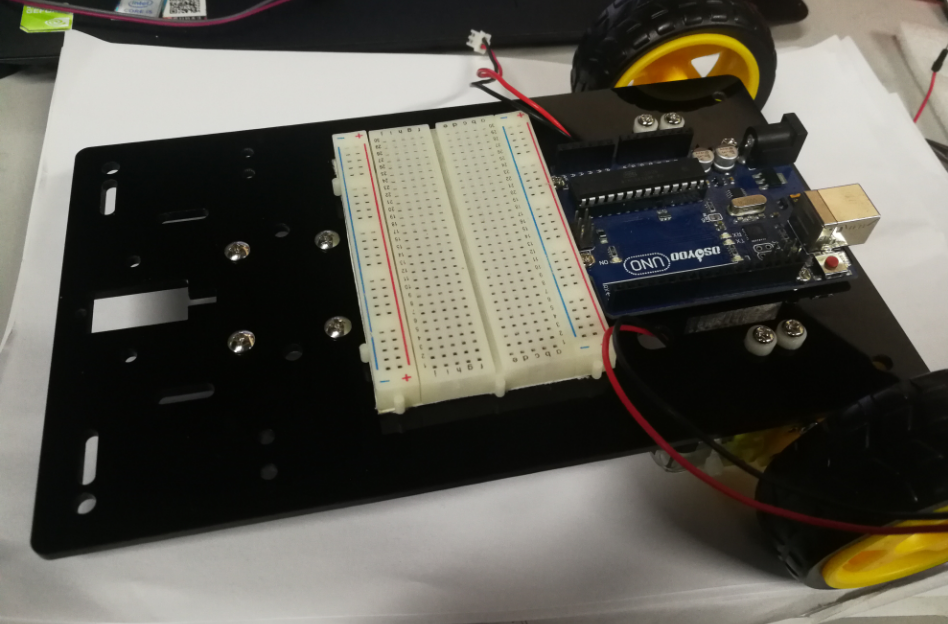
Place the acrylic platform as shown below. Fix the UNO board and breadboard to the acrylic platform.
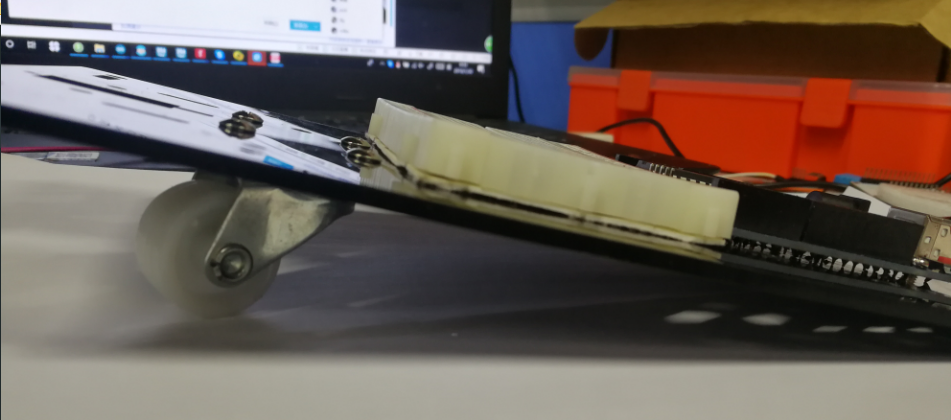
Turn the acrylic platform over and install the universal wheel.
Note: When installing the screw, the force should be uniform so as not to damage the acrylic plate.
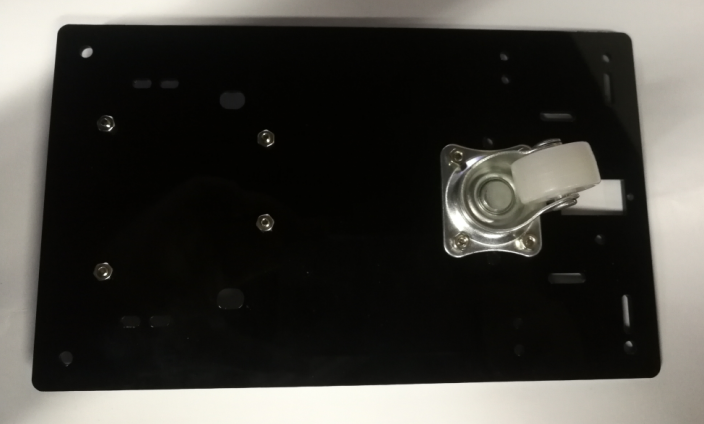
Install the corresponding screws.
Fix the metal motor holders.
Install wheels
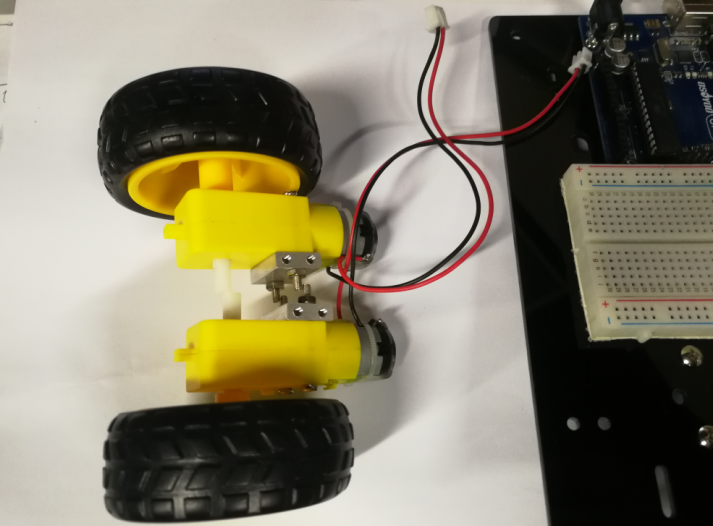
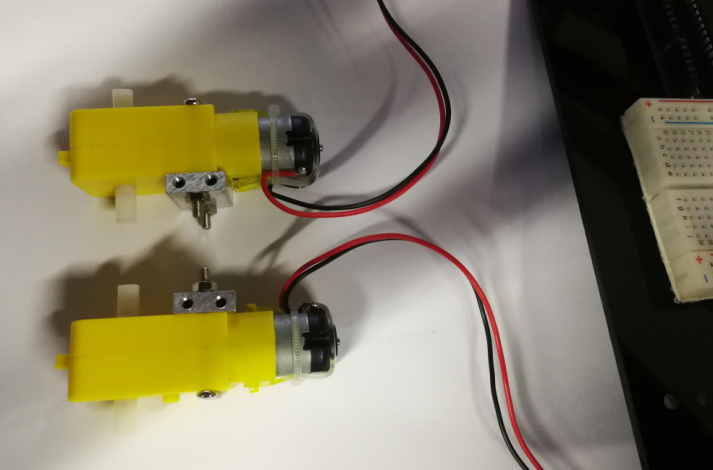
Fix DC motor to the acrylic platform.
Extend the wire from the hole in the motor。
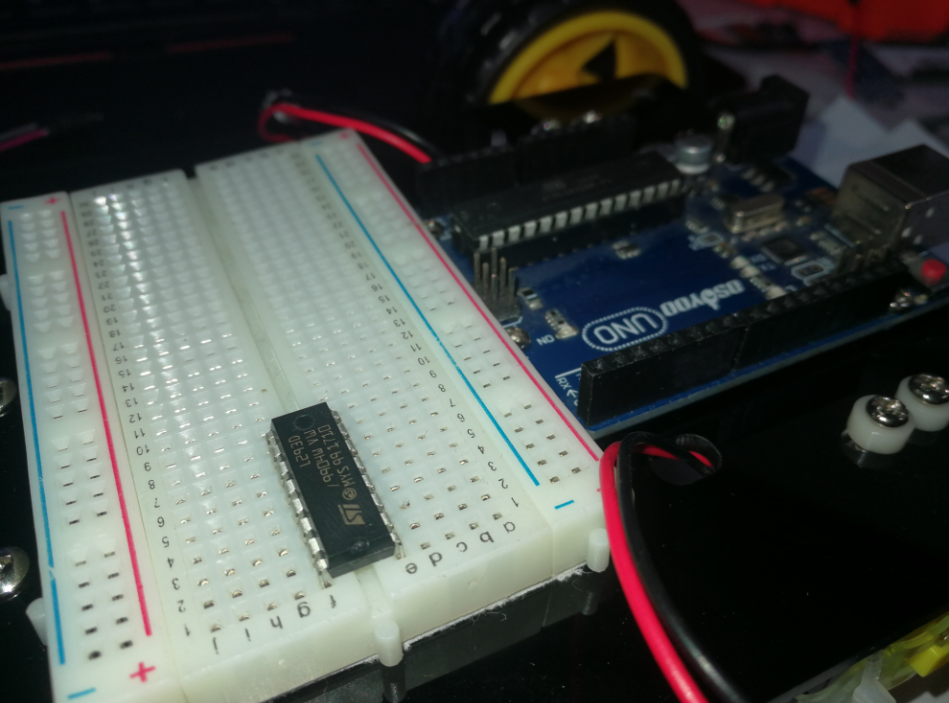
Flip the acrylic platform and insert the L293D chip into the breadboard。
amber administrator
You must be logged in to post a comment
About the Author