{:en}Design a smart alarm system through a raspberry pi board with vibration sensor and buzzer alarm sensor{:}{:zh}基于树莓派的智能报警器设计{:}
{:en}
Overview
This tutorial is to design a smart alarm through a raspberry pi board and vibration sensor and buzzer alarm sensor.The vibration sensor will output high level voltage when it detect vibration and output low level voltage when no vibration. According to this feature, the raspberry pi check the level signal from vibration sensor,The buzzer sensor will alarm once receive the high level signal.To explore this character,you can install security alarm on your windows to prevent thieves from entering.
Experimental Parts
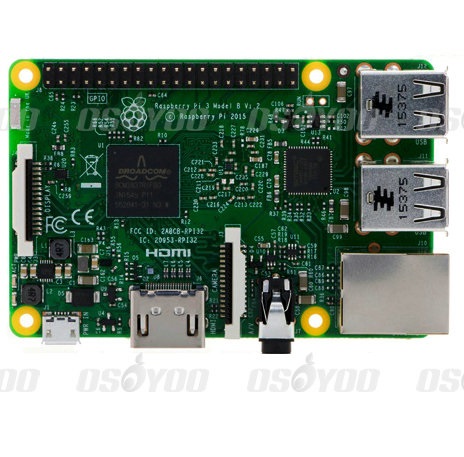 |
Raspberry Pi3 x1
|
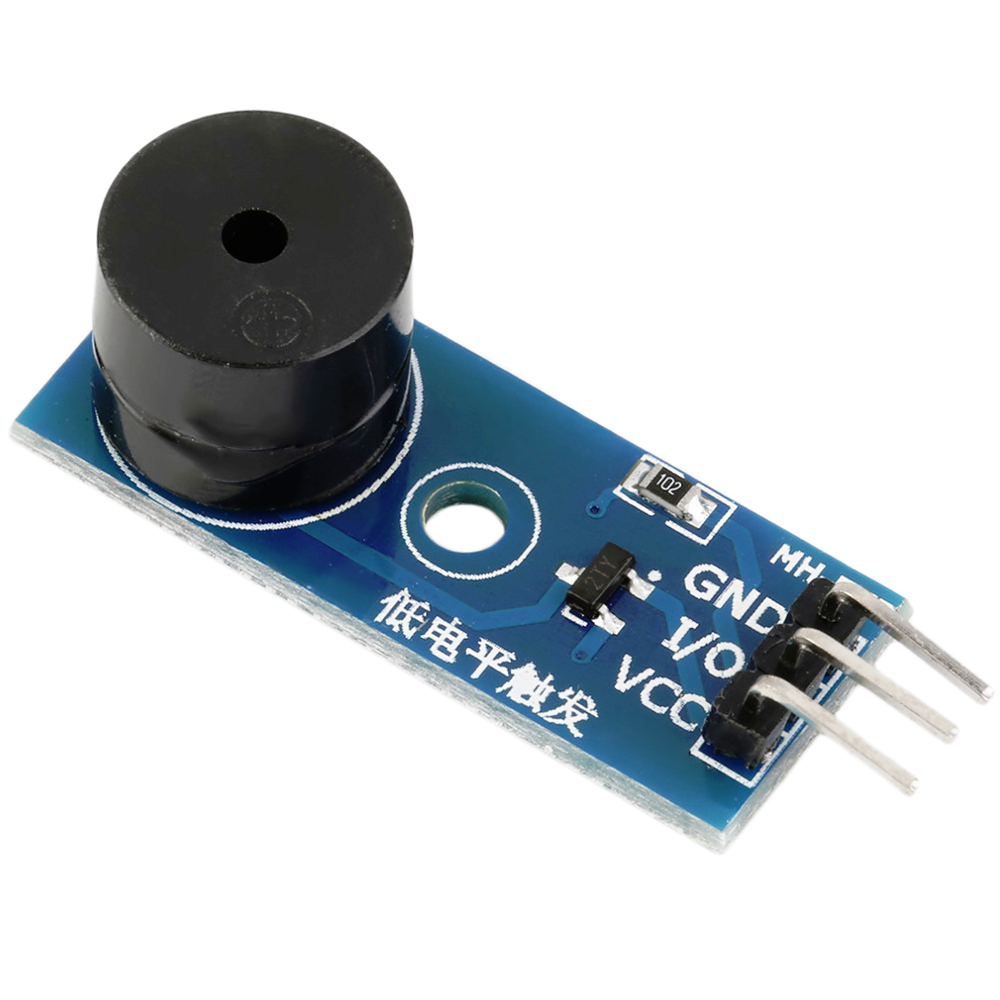 |
Buzzer Alarm Sensor Module x1 |
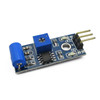 |
Vibration Sensor x1 |
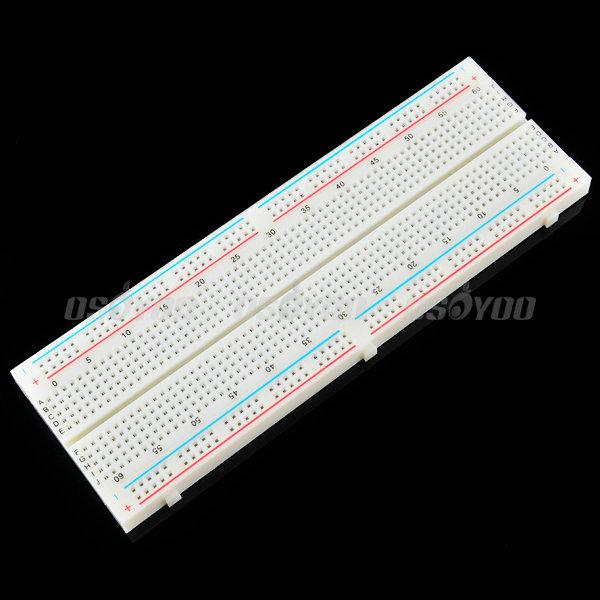 |
Breadboard x1 |
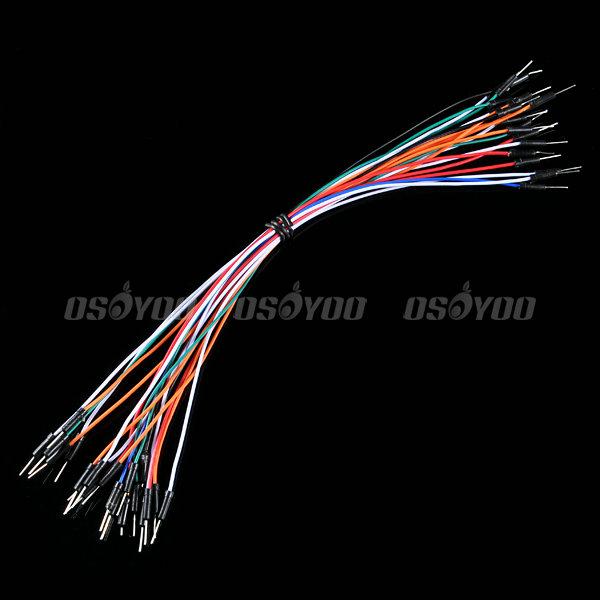 |
male to male jumper wire |
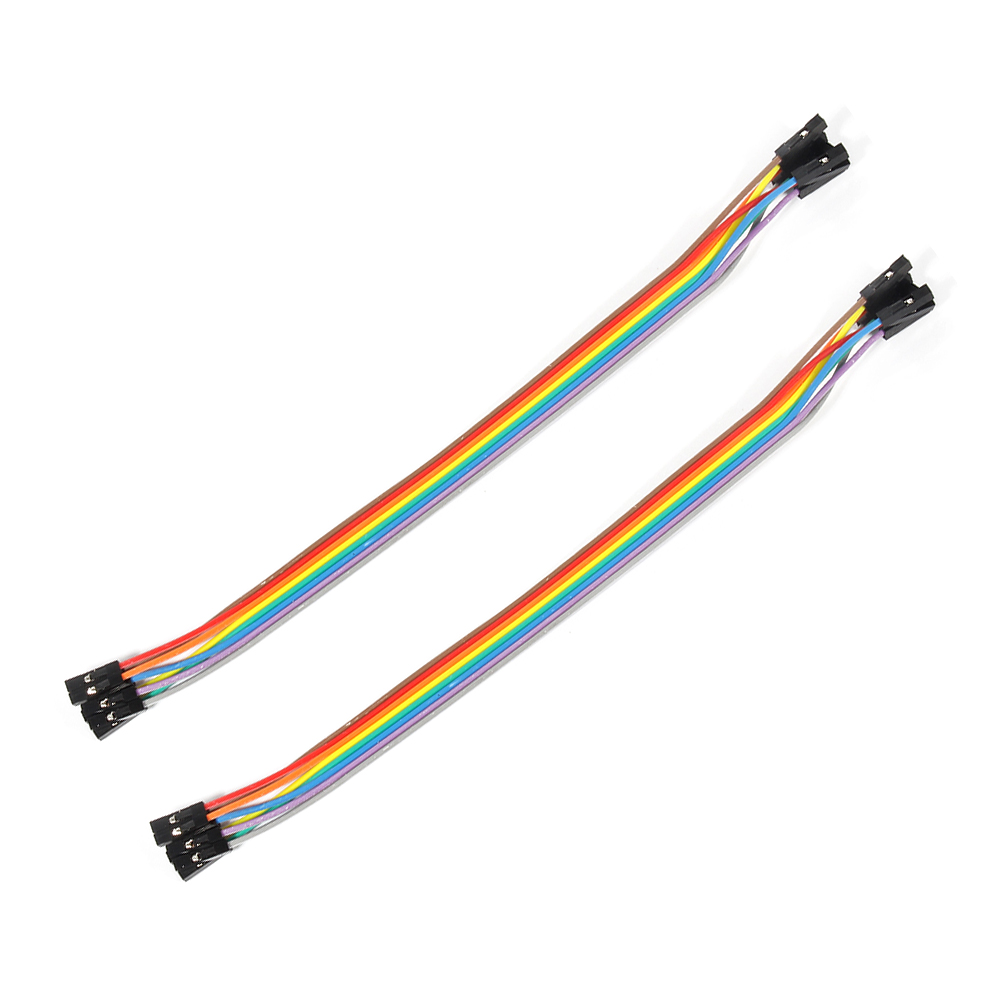 |
male to female jumper wire |
Hardware
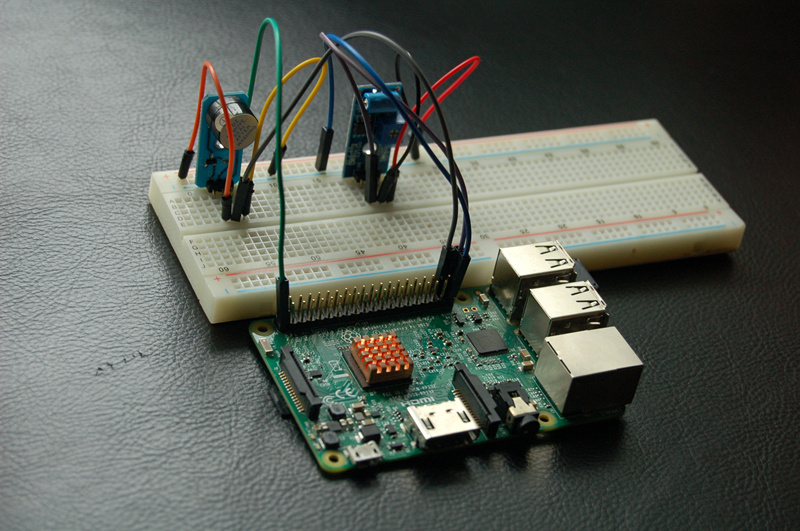
The vibration sensor and buzzer alarm sensor need to be used in this project.
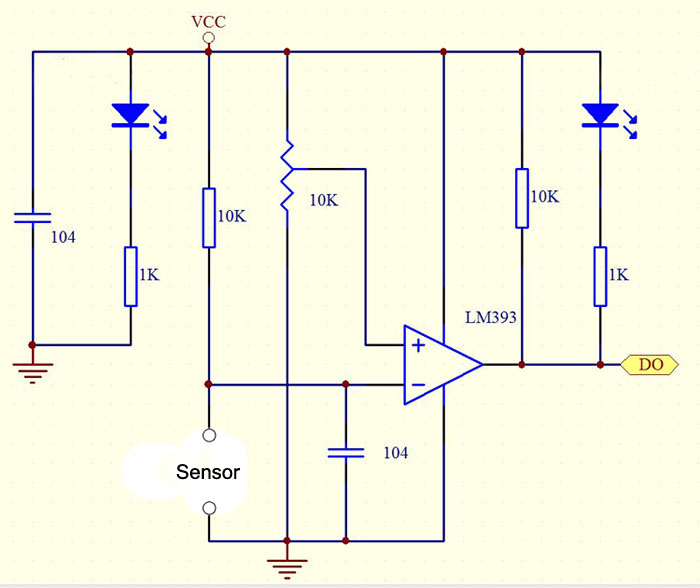
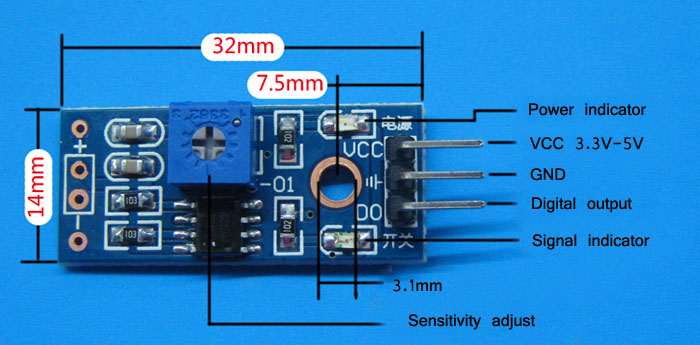
The working volatage of vibration sensor is 3.3V-5V and this project use the 3.3V as power supply.When there is no vibration,it output low level voltage and the light signal turns on;When there is any vibration, it output high level voltage and the light signal turns off.
The schematic diagram is as follows:
The working volatage of buzzer alarm sensor is 3.3V-5V and this project use the 3.3V as well.When it receive low level voltage, the buzzer sensor will alarm;When it receive high level voltage,the buzzer sensor won’t alarm.
The schematic diagram is as follows:
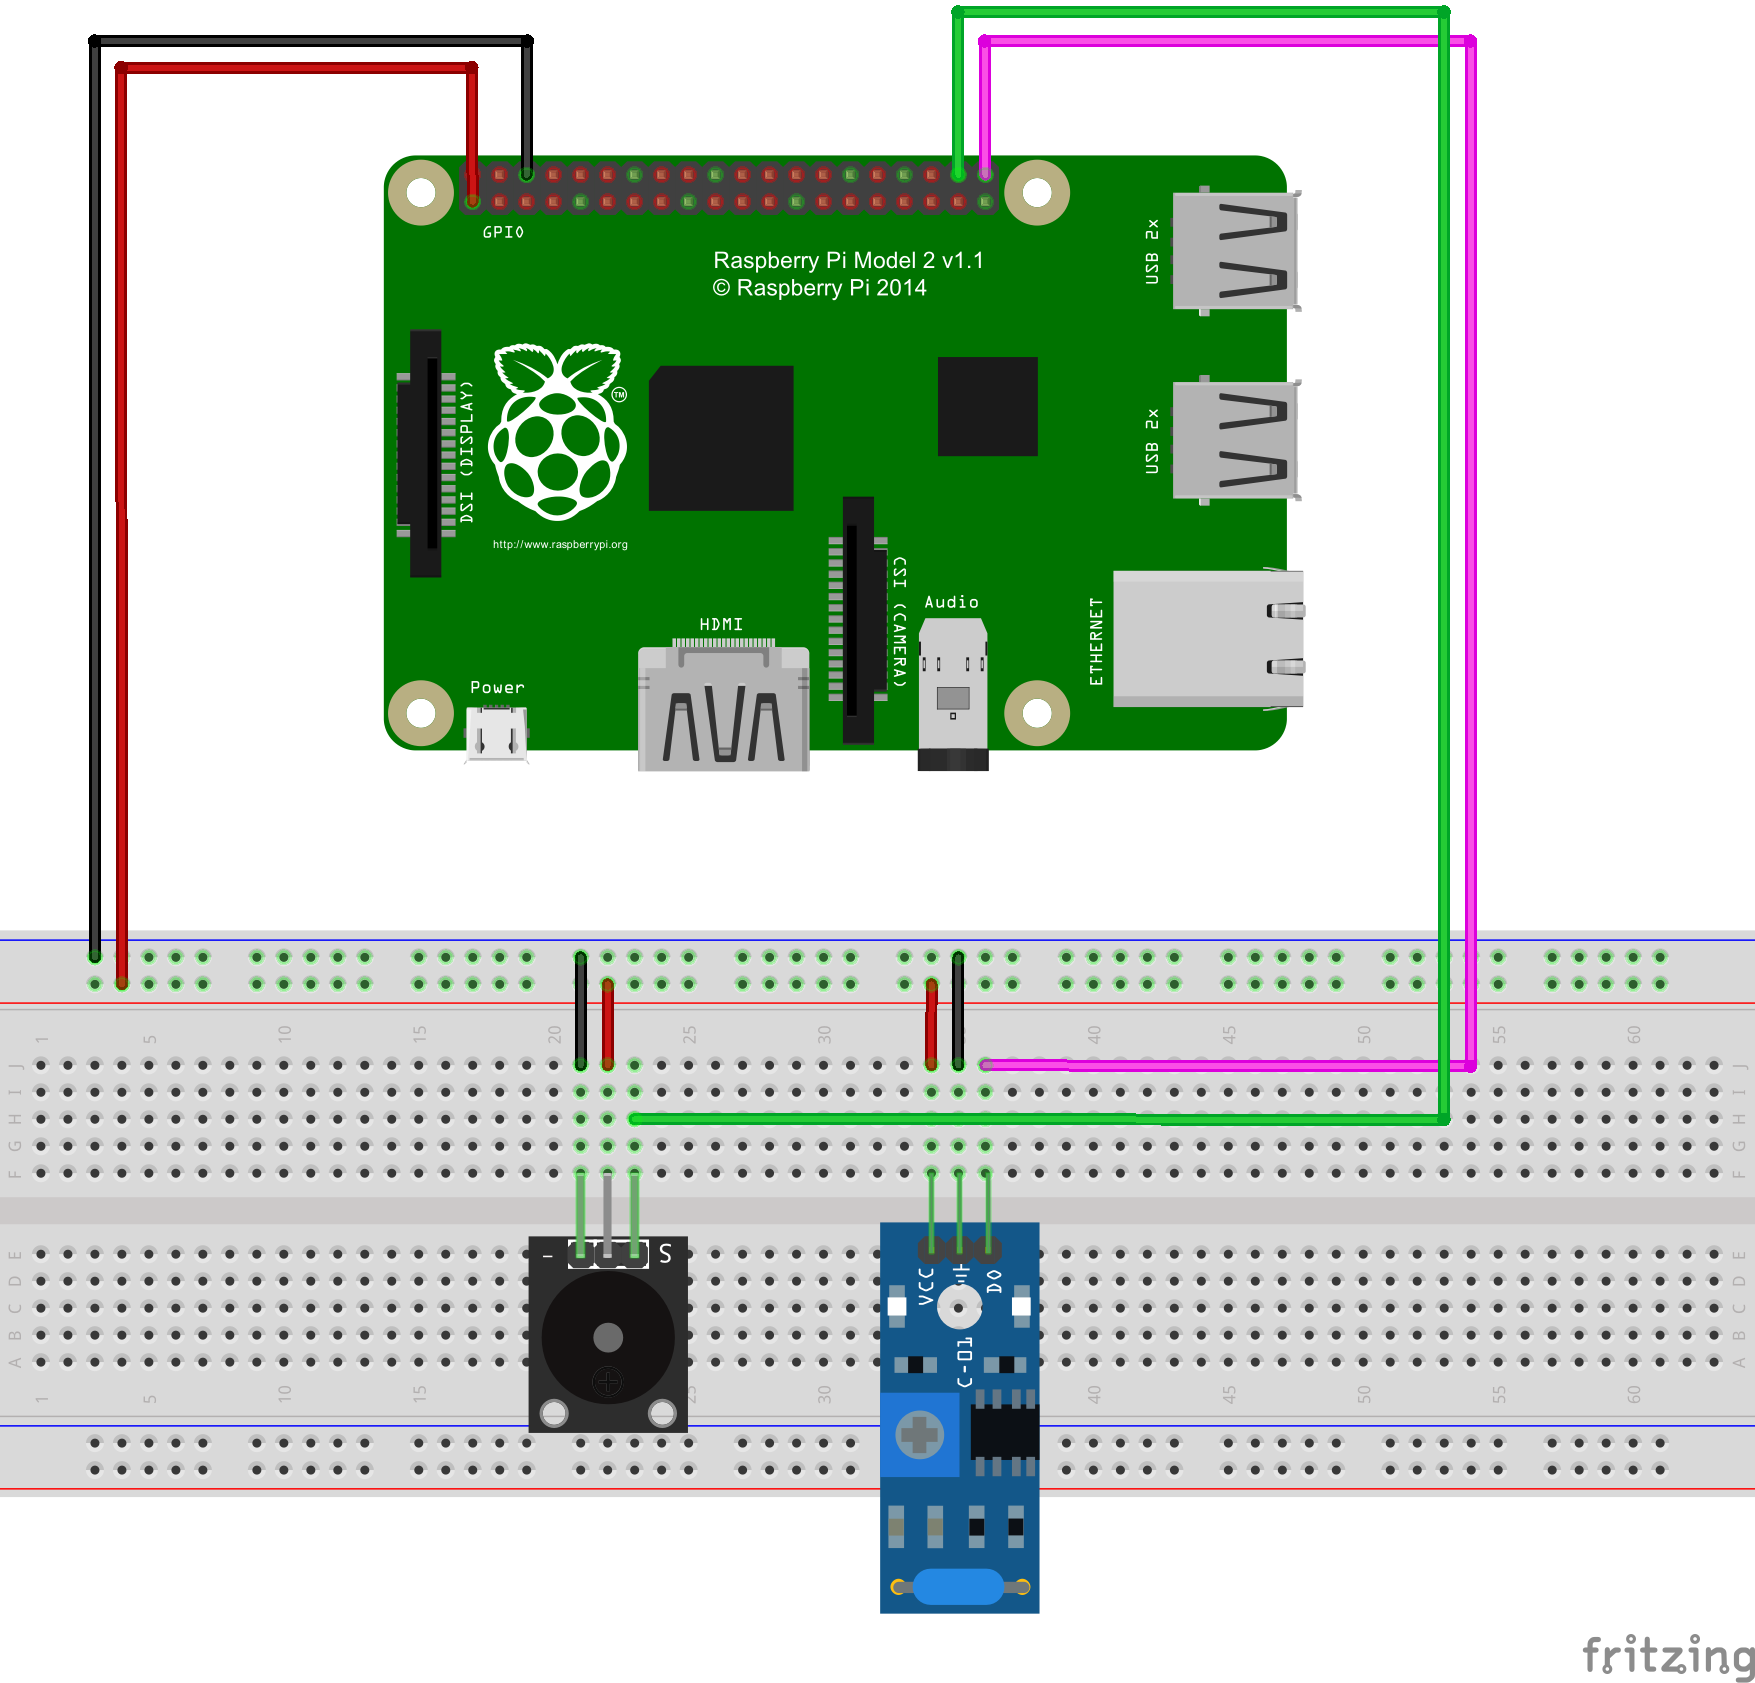
Pay more attention to the anode and cathode, otherwise it would burnout your raspberry pi board and sensor.You can connect the GND of the sensor to OV, VCC to 3.3V. Connect the buzzer sensor to pinout20 (BCM No) and vibration sensor to pinout 21(BCM No).You could visit the article for your referenc if you want to learn more about the raspberry pi IO port : How to read Raspberry Pi i/o pin diagram (GPIO pin graph)
Software
You could choose the connect the raspberry pi to monitor, or login in pi via SSH.
1)Write the code
Add new file named vibration.py under the /home/pi file path via nano editor (the name is arbitrary)
sudo nano vibration.py
Write the sample code in new file
#!/usr/bin/env python
import RPi.GPIO as GPIO
import time
class Sw40(object):
“”“docstring for Senal”“”
def __init__(self, pin , buzzer):
self.buzzer = buzzer
GPIO.setmode(GPIO.BCM)
GPIO.setup(self.buzzer
{:}{:zh}Overview
本文将介绍如何用树莓派、防震传感器模块和有源蜂鸣器模块设计智能报警器。当防震传感器模块检测有震动的时候,会输出高电平,没有震动输出低电平,利用这一特点,树莓派通过中断的方式查询防震传感器模块输出的电平信号,当检测到高电平(即有震动时候),蜂鸣器报警;否则不报警。可以将自己设计的防盗报警器安装在自己家的窗户上,如果有小偷破窗而入,就会报警。
Experimental Parts
为了完成设计需要用到一下器件
|
|
Pi3 x1
|
|
|
有源蜂鸣器模块 x1 |
|
|
防震模块 x1 |
|
|
面包板 x1 |
|
|
公对公跳线 x若干 |
|
|
公对母跳线 x若干 |
Hardware
本中只需要用到两个传感器模块,防震传感器模块和有源蜂鸣器模块。防震模块工作在3.3V-5V电压下,在本项目中采用3.3V供电。在不震动情况下呈常闭状态,输出低电平,开关信号指示灯被点亮;震动时候输出高电平,开关信号指示灯熄灭。其原理图和外形图分别如下图所示。
有源蜂蜜器模块,工作在3.3V-5V电压之间,本项目中同样采用3.3V供电。模块是低电平有效,即控制器给一个低电平,蜂鸣器响,给高电平不响。
与树莓派具体连线参考下图
在接线的时候请认清模块正负极,不要接反了,否则会烧坏你的Pi和模块。模块的上的GND接Pi上的0V;模块上的VCC接3.3V。将蜂鸣器接到20号引脚(BCM编号方式),防震模块接到21号引脚上(BCM编号方式)。关于如何识别Pi的IO口请参考这篇文章: How to read Raspberry Pi i/o pin diagram (GPIO pin graph)
Software
可以把pi直接接到显示器上,也可以通过SSH方式远程登录Pi。
1)编写代码
在/home/pi路径下用nano新建一个vibration.py(名字随意,你喜欢就好!)
sudo nano vibration.py
并往新建的文件中写入如下代码:
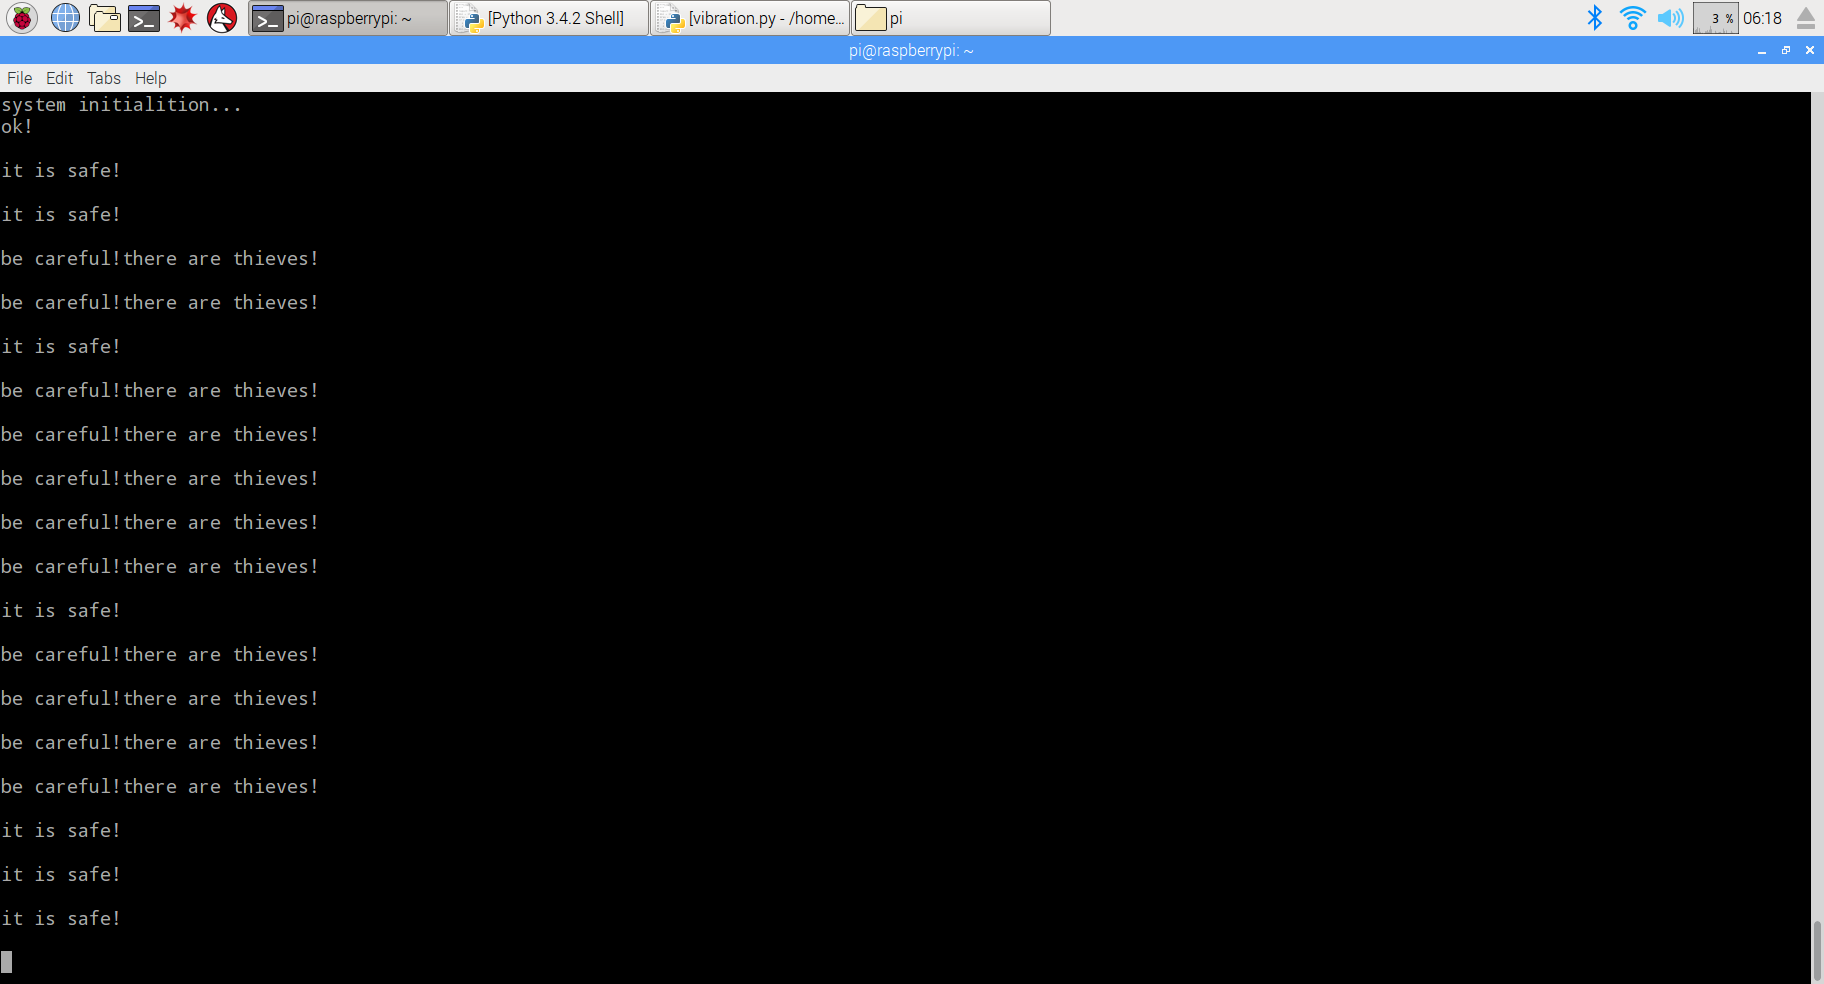
#!/usr/bin/env python
import RPi.GPIO as GPIO
import time

class Sw40(object):
    """docstring for Senal"""
    def __init__(self, pin , buzzer):
        self.buzzer = buzzer
        GPIO.setmode(GPIO.BCM)
        GPIO.setup(self.buzzer,GPIO.OUT)
        self.pin = pin
        GPIO.setup(self.pin, GPIO.IN, pull_up_down=GPIO.PUD_DOWN)

        GPIO.add_event_detect(self.pin, GPIO.RISING, callback=self.callback, bouncetime=1)
        self.count = 0

    def callback(self , pin):
        self.count += 1

    def BuzzerOn(self):
        GPIO.output(self.buzzer , 0)

    def BuzzerOff(self):
        GPIO.output(self.buzzer , 1)


def main():
    print"system initialition..."
    sensor = Sw40(21,20)
    print"ok!\n"
    try:
        while True:
            time.sleep(1)
            if sensor.count >=10:
                print"be careful!there are thieves!\n"
                sensor.BuzzerOn()
            else:
                print"it is safe!\n"
                sensor.BuzzerOff()
            sensor.count = 0

    except KeyboardInterrupt:
        GPIO.cleanup()

if __name__ == '__main__':
    main()
上面的代码可以通过执行下面的shell命令得到
sudo wget --no-check-certificate http://osoyoo.com/driver/vibration.py
2)执行python脚本
sudo python ./vibration.py
3)测试
将防震模块放置在水平桌面上,发现没有什么异样,但是,当你用手拍击桌面的时候,效果就不一样了,会听到蜂蜜器发出报警声,停止拍击蜂鸣器也停止发声。至此基于树莓派的智能报警器就设计好了,赶快安装到你家窗户上去防贼去吧!{:}
amber administrator
About the Author